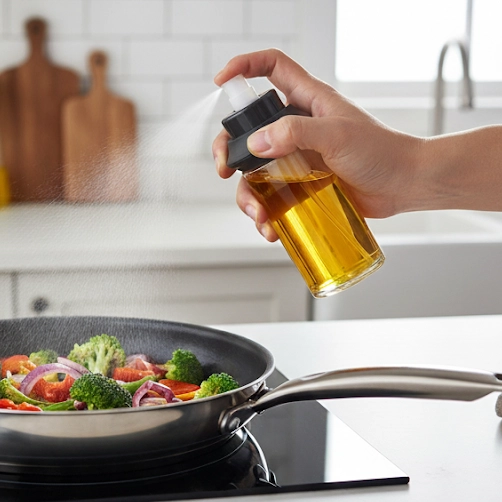
I’ve bought countless olive oil spray bottles on the market, and often encounter embarrassing situations. For example, the first time I use it, it sprays out as a mist, but later uses it to spray out streaks or columns, or it simply stops spraying and becomes completely clogged. I’m sure I’m not the only one who has encountered this situation, so it’s crucial to thoroughly understand how to clean the cooking oil in a spray bottle.
Explain that a clogged sprayer isn’t just inconvenient; it can be unhygienic, as old oil residue can harbor bacteria and go rancid. Regular cleaning maintains its functionality, extends its lifespan, and ensures you’re always cooking with fresh, high-quality oil.
This guide provides a comprehensive, two-tiered approach to cleaning your oil sprayer, from a quick-and-easy routine to a deep-cleaning method for stubborn clogs. By following these simple steps, you’ll keep your sprayer in top condition and enjoy perfectly seasoned, mess-free cooking.
Why Your Olive Oil Sprayer Gets Clogged
Before we get to the “how-to,” it helps to understand the “why.” Cooking oils, while liquid at room temperature, are made of fats. Over time and with exposure to air, tiny particles of oil can solidify and build up. This residue is what causes the clogs. The most common clog points are:
- The Nozzle: The tiny hole at the very tip of the sprayer is the most susceptible to blockage.
- The Intake Tube: The narrow tube that draws the oil from the bottom of the bottle can also become coated with a film of oil.
- The Internal Pump: The mechanics of the pump can get sticky and lose their ability to build pressure if not cleaned regularly.
You can also inadvertently contribute to clogs by using the wrong type of oil. Thicker, more viscous oils or those that solidify at cooler temperatures (like coconut oil) are much more likely to cause issues. Similarly, infused oils that contain bits of herbs, garlic, or spices are a primary cause of blockages, as the solid particles get stuck in the fine nozzle opening.
The Standard Cleaning Method of the Cooking Oil Bottle
This method is your go-to for routine upkeep. Aim to do this every week or two, depending on how often you use your sprayer.
Materials: All you need is some hot tap water and a mild dish soap. A long-handled bottle brush can be helpful but isn’t essential.
Step-by-Step Instructions:
- Empty the Bottle: First, pour any remaining oil back into its original container. If you have a separate jar for cooking oil, you can use that as well.
- Add Hot, Soapy Water: Fill the bottle about halfway with the hottest water you can safely handle from your tap. Add just a couple of drops of mild dish soap. The hot water is key here, as it helps to emulsify and break down the oil.
- Shake and Agitate: Screw the top back on tightly and shake the bottle vigorously for about 30 to 60 seconds. You should see the soapy water turning cloudy as it mixes with the oil residue.
- Spray to Flush: This is the most crucial step. Aim the nozzle into the sink, pump the sprayer, and spray the soapy solution out. This action forces the soapy water through all the internal mechanisms, clearing any minor blockages and cleaning the inside of the tube and nozzle. Repeat this until the bottle is empty.
- Rinse Thoroughly: Now, rinse out the bottle and fill it with fresh, hot water (no soap this time). Pump the sprayer again, spraying the clean water out until the bottle is empty. Repeat this step once or twice more to ensure there is absolutely no soap residue left inside.
- Air Dry Completely: Disassemble the cap from the bottle. Place all parts on a drying rack or a clean towel. It is absolutely critical that the bottle and all its parts are completely and thoroughly dry before you refill it. Any leftover moisture can cause your oil to go rancid.
The Deep Cleaning Method of the Cooking Oil in a Spray Bottle
If the standard method doesn’t work and your sprayer is completely blocked or only giving a weak stream, it’s time to bring out the big guns.
Materials: All you need is hot water and white vinegar. The acidity of the vinegar is a powerful agent for breaking down stubborn residue.
Step-by-Step Instructions:
- The Vinegar Solution: Create a cleaning solution of approximately 1 part white vinegar to 2 parts hot water. Pour this into the empty bottle.
- Soak it Out: Screw the top on and let the solution sit for at least 15 to 30 minutes. For a really stubborn clog, leave it to soak overnight. This prolonged contact gives the vinegar time to work its magic and dissolve the hardened oil.
- Pump and Flush Again: Aim the nozzle into the sink and pump the sprayer, forcing the vinegar solution through the nozzle. You may see some gunk or clumps come out, which is a good sign that the clog is being cleared.
- Rinse, Rinse, Rinse: This is a key final step. Fill the bottle with fresh, hot water and spray it out. You may need to do this several times until there is no longer any vinegar smell. You don’t want your next batch of oil to taste like vinegar!
- Dry and Reassemble: Just as with the standard method, ensure all parts are completely dry before you refill the sprayer with oil.
The Effect of the Cooking Oil Sprayer’s Material on Cleaning
The material of your oil sprayer can significantly impact how easy it is to clean and maintain. Different materials have their own pros and cons when it comes to hygiene and residue buildup.
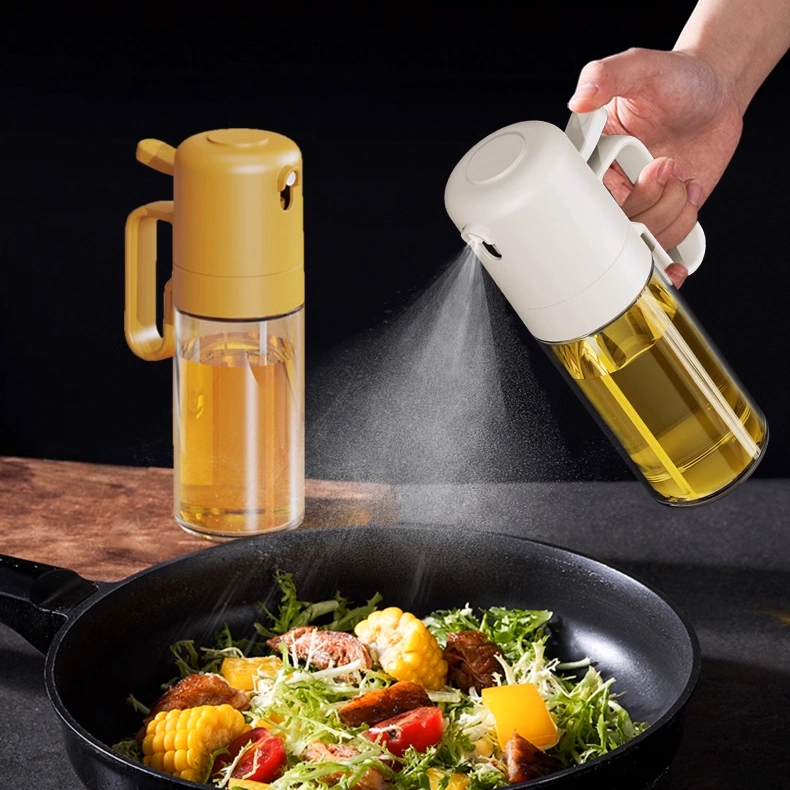
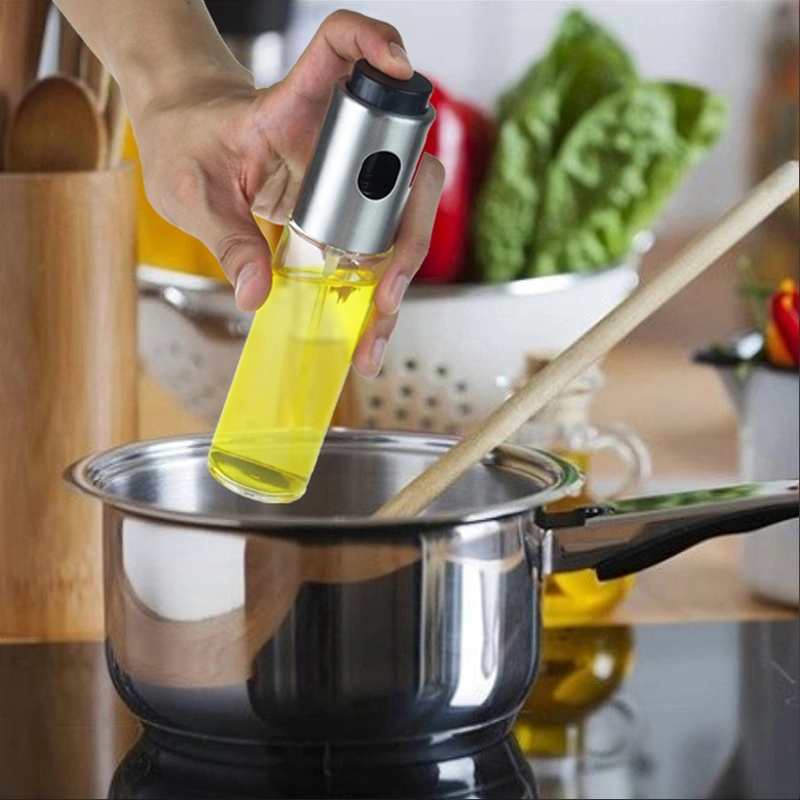
Glass Bottles: Glass is an excellent choice for an oil sprayer. It is non-porous and non-reactive, meaning it won’t absorb oil residue or odors over time. This makes glass bottles incredibly easy to clean—a simple hot water and soap rinse is usually all you need to get them sparkling again. The transparent body also allows you to see when it’s getting dirty, so you know exactly when to clean it. The main drawback is that glass can be fragile and is susceptible to breaking if dropped.
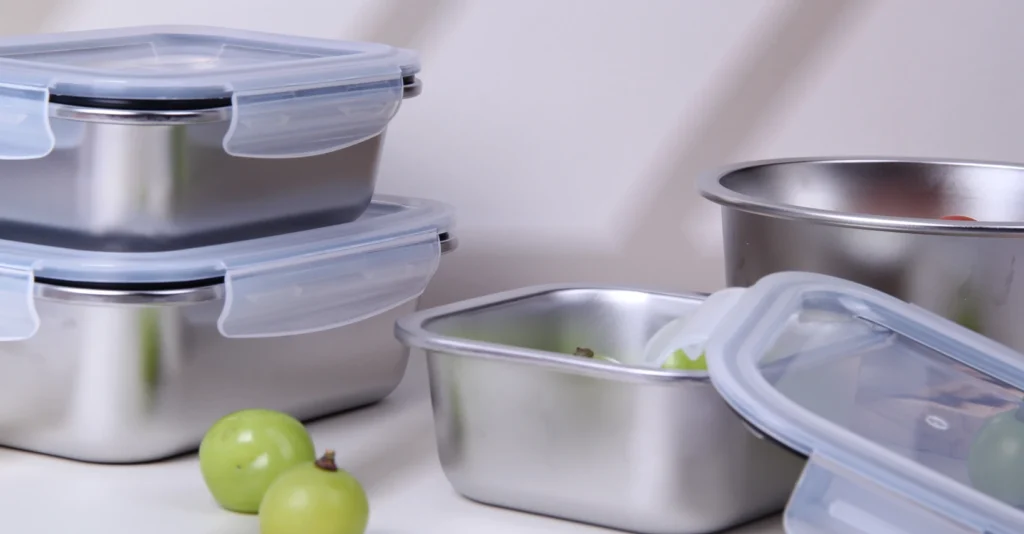
Stainless Steel Bottles: Stainless steel is prized for its durability and resistance to rust and corrosion. It is also non-porous and very hygienic, making it a breeze to clean. You won’t have to worry about lingering smells or residue. However, because stainless steel is opaque, you can’t see the oil level or the interior of the bottle, so you’ll have to clean it on a regular schedule rather than just when it looks dirty.
Plastic Bottles: Plastic bottles are lightweight and generally more durable than glass. However, they are more susceptible to absorbing oil over time, which can lead to a cloudy appearance and a permanent greasy film that is difficult to completely remove. This makes them a bit more challenging to get perfectly clean. If you choose a plastic bottle, it’s even more important to stick to a regular cleaning schedule.
Pro Tips for a Clog-Free Kitchen Oil Sprayer
Choose the Right Oil: Avoid any oils that are thick or solidify at cooler temperatures. Stick to thin, high-quality liquid oils like extra virgin olive, avocado, or grapeseed oil.
Store Properly: Keep your oil sprayer in a cool, dark place, away from direct sunlight, which can cause the oil to go rancid and thicken.
Release Pressure After Use: Make this a simple habit: after each use, turn the bottle upside down and press the nozzle to release any remaining air pressure. This helps to clear the nozzle and tube, preventing oil from settling and solidifying.
Use a Pin: For a very tiny, persistent clog right at the nozzle opening, you can carefully use a fine pin or needle to gently dislodge the particle.

Conclusion
Now you know how to clean the oil bottle, right? Cleaning your cooking oil spray bottle is a simple, five-minute task that can save you a lot of frustration and wasted oil in the long run. By making a habit of a quick wash every couple of weeks and opting for a deeper clean when needed, you’ll ensure that your sprayer remains a reliable and invaluable tool in your kitchen. A little bit of maintenance goes a long way, leading to a lifetime of perfectly seasoned, healthy, and mess-free cooking.
After our staff tried the product, we are even more confident in the performance of the spray bottle! Feel free to contact us to get your free product and try it out!