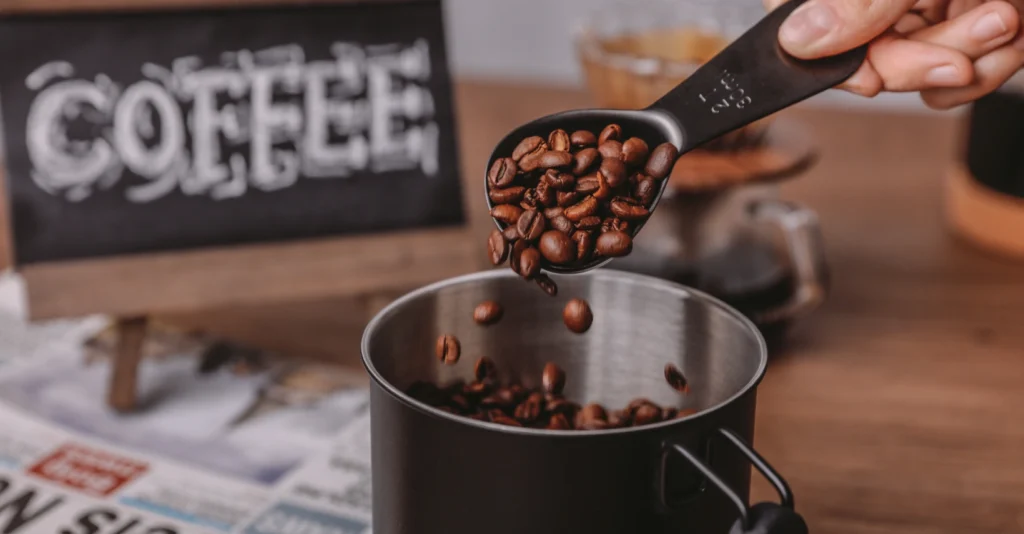
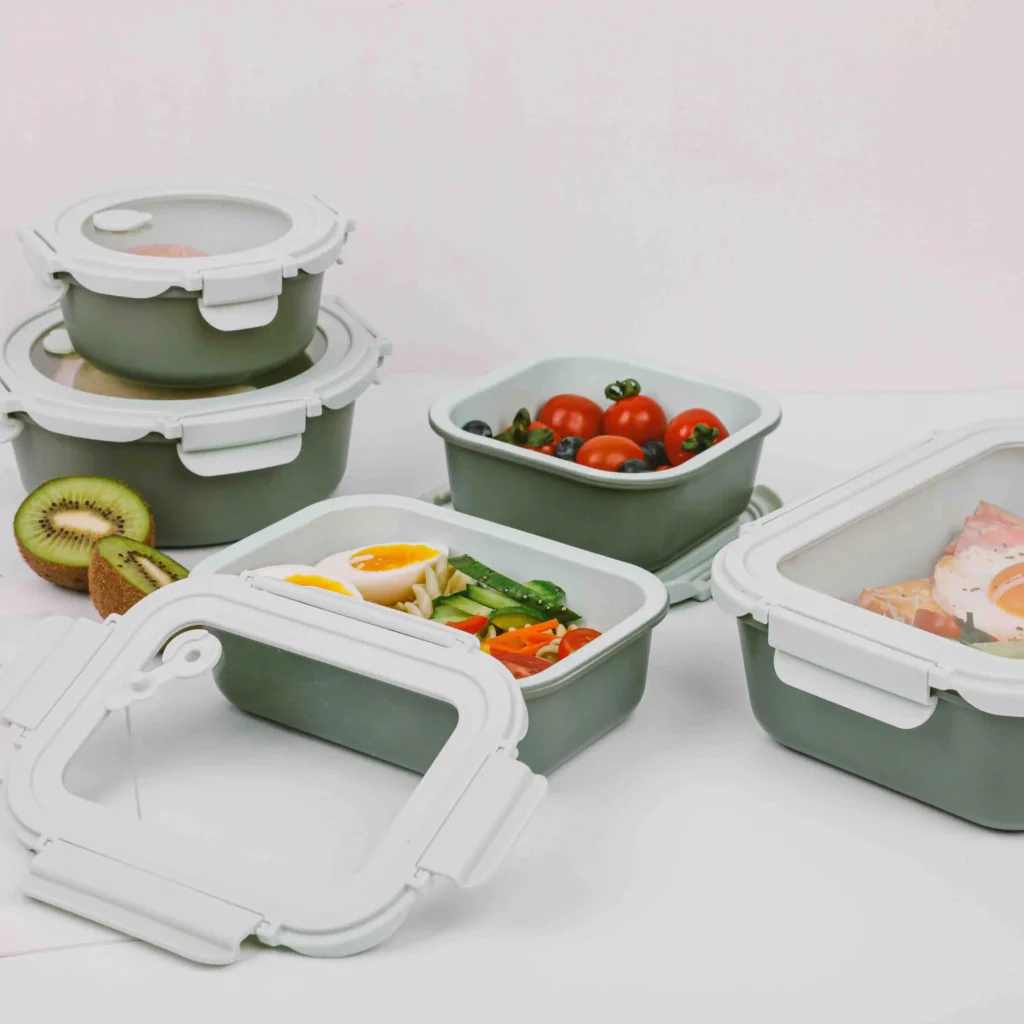
Keeping your lunch box and lunch bag clean is essential for both hygiene and taste. Proper cleaning prevents bacteria, mold, and lingering odors, ensuring your meals stay fresh and safe to eat. In this complete guide, we’ll show you step-by-step how to wash a lunch box and clean a lunch bag, including tips for tackling tough stains, removing smells, and maintaining your containers for long-term use. Whether you have a fabric lunch bag, an insulated lunch box, or multiple containers for the week, these simple cleaning routines will help you keep your lunch gear spotless, odor-free, and ready for every meal. Follow our expert tips to make lunch container cleaning quick, easy, and effective.
Why Proper Cleaning Matters
1. Food Safety First
Lunch boxes and bags often come into contact with perishable foods like sandwiches, fruits, and yogurt. Even small amounts of leftover food can become a breeding ground for bacteria like Salmonella or E. coli. Regular cleaning minimizes the risk of foodborne illnesses, protecting you and your family. For example, wiping down a container after every use prevents cross-contamination between foods, especially if you store raw fruits and cooked meats in the same box.
2. Banishing the Funk
Over time, containers develop unpleasant odors from sauces, cheeses, and leftovers. These smells not only make your lunch unpleasant but can also indicate bacterial growth. By cleaning containers thoroughly and using natural deodorizing agents like baking soda or white vinegar, you can eliminate lingering smells and make your lunch experience much more enjoyable.
3. Durability & Longevity
Regular cleaning isn’t just about hygiene—it also protects your investment. Food stains, sticky residues, and trapped moisture can degrade plastic, warp lids, or damage insulation. By maintaining a consistent cleaning routine, your containers stay in better condition, saving you money in the long run.
Preparing for Washing
1. Gather Your Supplies
Before you start, make sure you have:
- Mild dish soap – avoids harsh chemicals that can degrade plastics or fabrics.
- Soft sponge or brush – reaches corners without scratching surfaces.
- Baking soda or vinegar – natural stain and odor removers.
- Towel or drying rack – ensures containers dry fully, preventing mold.
Having these supplies ready saves time and ensures you clean effectively every time.
2. Precautions
- Always check care labels for washing instructions. Some containers are dishwasher-safe; others aren’t.
- Avoid bleach or harsh chemicals unless explicitly recommended, as they can damage surfaces and leave residues.
- Separate lids, trays, and compartments before washing to ensure all parts are thoroughly cleaned.
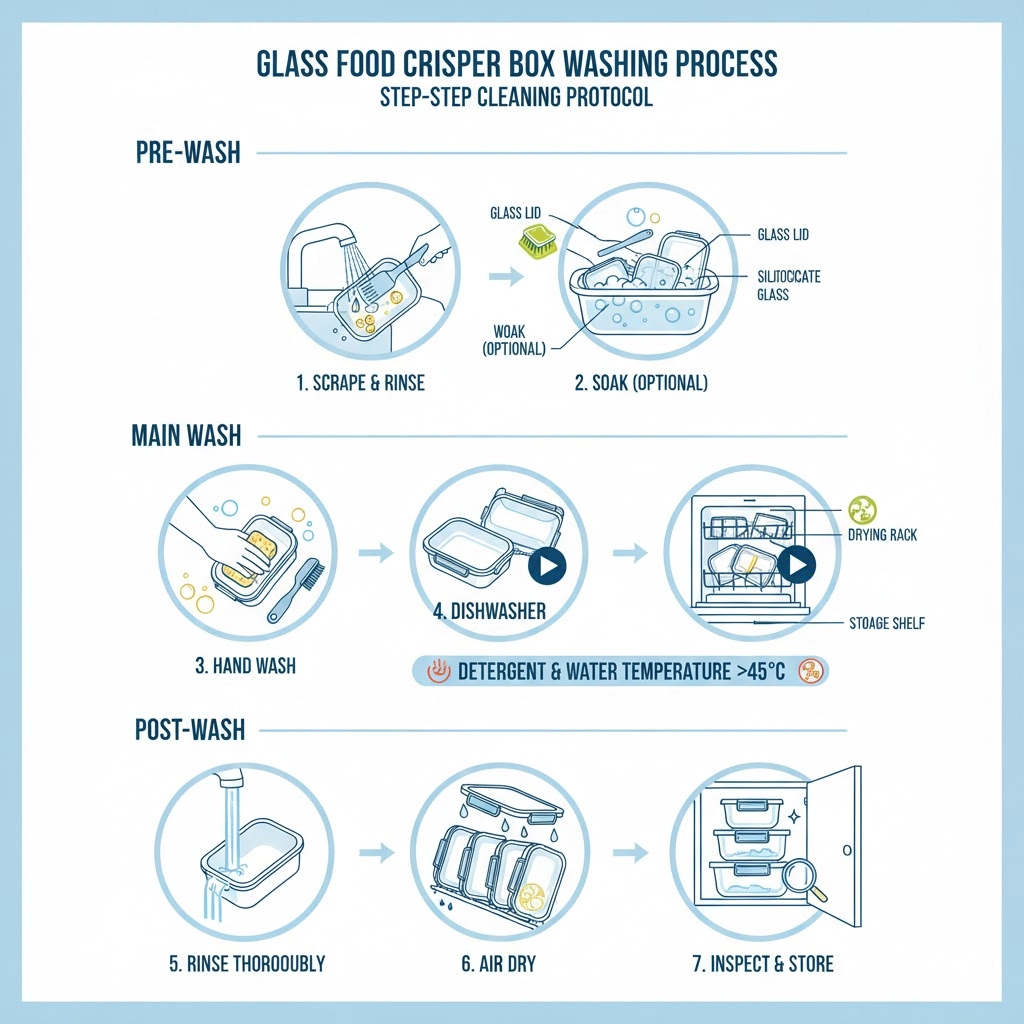
How to Wash a Lunch Box
1. Rinse It Out
Start by removing all leftover food and crumbs. Warm water works best to loosen sticky residues. Doing this prevents food from hardening and makes the cleaning process easier. For example, rinsing immediately after lunch avoids stubborn stains from peanut butter or tomato sauces.
2. Get Sudsy
Fill a sink or basin with warm water and a few drops of mild dish soap. Soak the lunch box for a few minutes if needed. Warm, soapy water helps break down grease and residues, making scrubbing easier without damaging the container.
3. Scrub Thoroughly
Use a sponge or soft brush to reach all corners, edges, and grooves, including under lids and inside compartments. Many containers have tight corners where crumbs accumulate—these are hotspots for bacterial growth. Small brushes or old toothbrushes work well for these tricky spots.
4. Bye-Bye Stains and Odors
For stubborn stains or smells:
- Baking soda paste: Mix with water and scrub lightly to remove discoloration.
- Vinegar soak: A 10-minute soak neutralizes odors and helps disinfect the container naturally.
These natural cleaners are safe, effective, and chemical-free.
5. Rinse and Dry
Rinse thoroughly to remove soap residue. Air drying is ideal because it prevents moisture from being trapped, which could lead to mold or mildew. Placing containers upside down on a rack ensures complete drainage.
How to Clean a Lunch Bag
Fabric Lunch Bags
- Hand-washing using mild detergent and warm water for gentle yet effective cleaning.
- Machine-washable bags should be placed in a laundry bag to protect the fabric and straps. Use a cold or gentle cycle.
- For tough stains, treat spots with a baking soda paste before washing.
Insulated Lunch Bags
- Wipe the interior and exterior with a damp sponge and mild soap.
- Avoid soaking the insulation, which can separate or retain water.
- Rinse carefully and air dry completely to maintain the bag’s insulating properties.
Dealing with Spills and Stains
- Immediate action is key: Clean spills as soon as they happen to prevent staining.
- Natural solutions: Baking soda, vinegar, and lemon juice work wonders on stubborn stains.
- Persistent stains: Let a paste or solution sit for 10–15 minutes before scrubbing gently.
- Regular inspection: Check compartments for hidden crumbs or sticky spots weekly.
Maintenance and Care Tips
Regular Cleaning Routine
Wipe out lunch boxes daily and do a deeper clean weekly.
For bags, spot-clean spills immediately and wash fabric or wipe insulated surfaces regularly.
Air It Out
Always leave lids off and bags open after cleaning.
Ventilating containers prevents moisture buildup, which can cause mold and odor.
Smart Storage
Store containers in a cool, dry place.
Avoid stacking damp boxes or bags, which traps moisture.
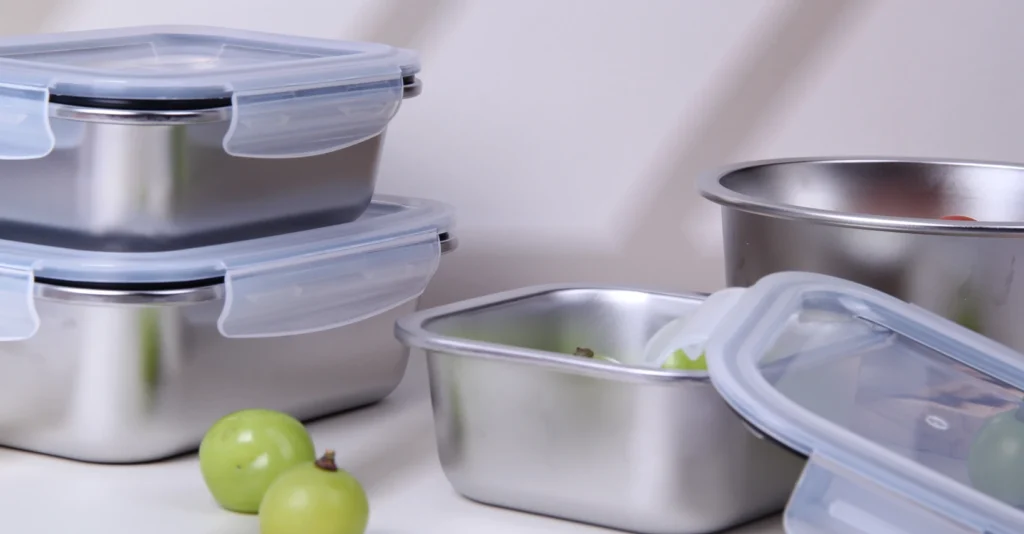
EasyLife‘s newly developed siliceous glaze coating lunch box
However, we can try to fundamentally reduce the occurrence of difficult cleaning problems, such as learning about our new food storage boxes, silicon crystal glaze-coated food storage boxes. Spraying a layer of silicon crystal glaze on the inside and outside of glass food storage containers (often referred to as “nano glaze”, “ceramic glaze” or “non-stick glass” technology in the market) is a popular process in recent years.
Why Spray Siliceous Glaze Coating on Glass Food Containers?
Core Purpose: To address several inherent pain points of traditional glass food containers.
- Non-stick properties: Although the surface of ordinary glass is relatively smooth, sticky foods such as cheese, rice, meat sauce, and honey can still cling to it, making it difficult to pour out and clean.
- Stain prevention: Foods with strong pigments, such as curry, ketchup, and dragon fruit, can stain the surface of ordinary glass (especially low-quality or aged glass) and leave difficult-to-remove stains.
- Enhanced Abrasion Resistance: Adding a hard protective film to the glass surface makes it more resistant to minor scratches from daily use.
- Easy Cleaning: This is the primary marketing advantage. By making the surface extremely smooth and hydrophobic, the “non-stick” effect is achieved, allowing for easy rinsing or even no scrubbing required.

Advantages of the Siliceous Glaze Coating Glass Food Container
Extremely Easy to Clean
- Non-Stick Food: Sticky food pours out easily, eliminating waste and scraping.
- One-Rinse Cleans: Most non-greasy residues can be easily removed with just running water, significantly reducing the need for dishwashing liquid and dishcloths.
- Anti-Staining: Effectively prevents colored food from penetrating the material, avoiding the annoying problem of staining and keeping the crisper looking new for longer.
Improved Durability
Scratch Resistance: This silicon crystal glaze is typically sintered at high temperatures, resulting in a higher hardness and greater resistance to minor scratches than glass itself, extending the product’s aesthetic life.
Hydrophobic and Oleophobic
Water and other liquids drop off the coating surface quickly, rather than spreading out. This not only makes cleaning easier, but also dries faster and is less likely to harbor scale and bacteria.
Material Safety
Siliceous glaze coating is primarily composed of silicon dioxide (the main component of glass and sand), which is very stable. When processed correctly, it is non-toxic, odorless, high temperature resistant, will not react with food, and is highly safe.
How often should I clean my lunch box?
Daily wipe-down and weekly deep clean are recommended.
Can my lunch box go in the dishwasher?
Only if the manufacturer says it’s dishwasher-safe. Otherwise, hand-wash to avoid warping or cracks. Our lunch boxes are basically dishwasher safe and tested by our team of professionals.
What is the best way to remove food stains from a lunch bag?
Use mild soap, baking soda, or vinegar on stains and scrub gently.
How do I get rid of unpleasant odors from my lunch box?
Baking soda, vinegar, or lemon juice can neutralize odors. Air drying also helps.
Is it safe to use bleach for cleaning lunch containers?
Only if the manufacturer explicitly allows it; otherwise, avoid harsh chemicals.
Can I wash an insulated lunch bag in the washing machine?
Most insulated bags should be hand-wiped to protect the insulation.
How can I prevent mold growth in my lunch box?
Clean thoroughly, dry completely, and store in a ventilated area.
Are there any natural cleaning solutions for lunch containers?
Yes—baking soda, vinegar, and lemon juice are effective, safe options.
Should I air dry or towel dry my lunch box?
Air drying is preferred. Towel drying is okay if fully dry afterward to avoid moisture buildup.
Conclusion
Keeping your lunch box and lunch bag clean doesn’t have to be complicated. With a consistent cleaning routine, proper tools, and natural cleaning solutions, you can eliminate stains, odors, and bacteria. Not only will this make your meals safer and more enjoyable, but it will also extend the life of your containers, saving money and reducing waste. By following these practical tips, you’ll make lunch gear maintenance a simple habit, ensuring every meal is fresh, hygienic, and stress-free.